- Where to get a UBC Guest Card
- How to print using payforprint.ubc.ca
- How to print using a Pay for Print enabled UBC computer
 Where to get a UBC Guest Card
You can pick up a UBC Guest Card at any library circulation desk for $5 (cards are preloaded with $5). Cards can also be purchased from the card vendor on level 3 of the Irving K. Barber Learning Centre. The guest card allows guests to the University to pay for printing, copying and scanning across campus using a unified system of payment.
To add funds to the UBC Guest Card, login to http://payforprint.ubc.ca and click on "Add Funds -- UBC Visitor".
Alternatively, you can add value to your card with cash by using the card vendor located on level 3 of the Irving K. Barber Learning Centre.
How to print using payforprint.ubc.ca
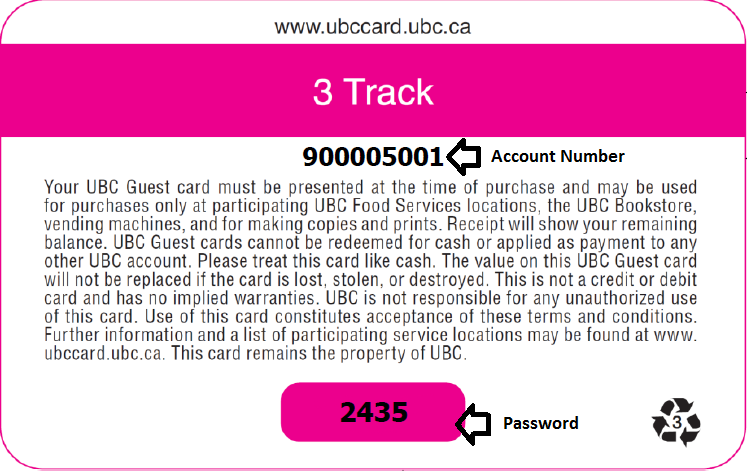
- Login to http://payforprint.ubc.ca using your UBC Guest Card account number and password. The card's password can be found underneath the scratch off area on the back of the card.
- Check to see if you have funds available in your account. To add funds, click on "Add Money -- Visitors"
- Click on "Web Print" followed by "Submit a Job".
- Select the printer that you would like to use to print your document.
- Scroll down and click on "Print Options and Account Selection" to select the number of copies.
- Click on "Upload Documents" and upload your file by dragging and dropping or by clicking "Upload from Computer" and select your file.
- Click on "Upload & Complete" after you are done selecting you file.
- You will be redirected to a print status monitoring page. If you select a hold and release print queue, the print job will be held until you release it at the printer by swiping your card. If you select an immediate release print queue, it will be printed immediately.
How to print from a Pay for Print enabled UBC computer
- Login to http://payforprint.ubc.ca using your UBC Guest Card account number and password.
- Verify that you have funds available in your account. If not, click on "Add Money -- Visitor"
- Click on "Print" in the application you are working on and select the printer that you wish to send your job to.
- When a Pay for Print pop-up login box is displayed, login with your EAD account.
- If you select a hold and release print queue, the print job will be held until you release it at the printer. If you select an immediate release print queue, the print job will be released immediately.