One Time Step - Create nsmb.conf
On your macOS computer create the file ~/Library/Preferences/nsmb.conf containing the following two lines:
[default]
file_ids_off=yes
Use the editor of your choice, or open the application Terminal and paste the following commands:
echo "[default]" >> ~/Library/Preferences/nsmb.conf
echo "file_ids_off=yes" >> ~/Library/Preferences/nsmb.conf
Please ensure that the file was created correctly, then reboot the computer.
For System Administrators, the same content in the file /etc/nsmb.conf can be used to configure all users on the computer.
Find and Restore Content
To try to restore files to TeamShare, please follow the steps below. Please note that these steps are very similar to Mapping or Mounting Your Home Drive in macOS
- From the Finder menu, click Go --> Connect to Server
- In the Server Address field enter the following information:
smb://files.ubc.ca/team/department id/.snapshot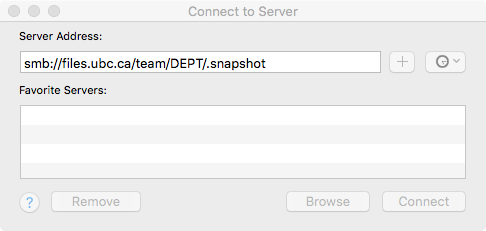
- Click Connect
- Enter the following, then click Connect
Name: your CWL username
Password: your CWL password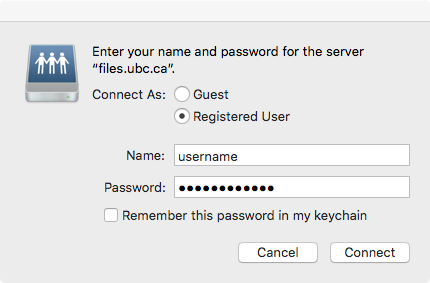
- A mounted drive will appear showing snapshots
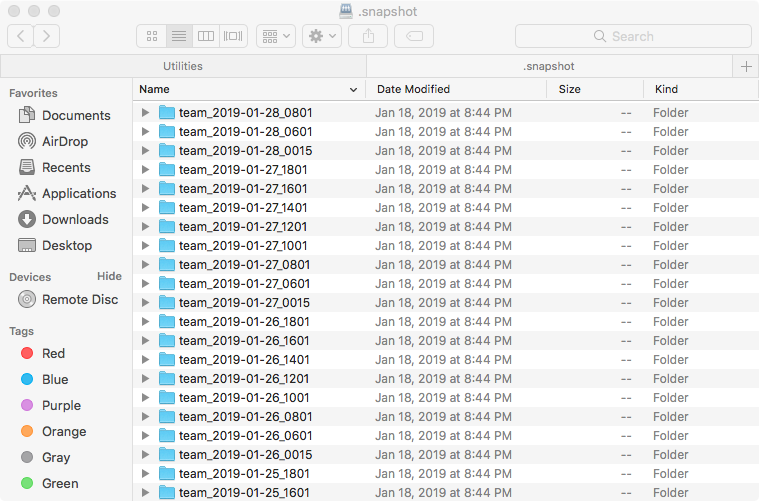
- Navigate to the folder you wish to restore from (based on the timestamp in the folder name)
- Select the content you wish to restore and from the Menu Bar select Edit > Copy or press Cmd + C.
- Browse to the folder to which you will restore the file or folder and from the Menu Bar select Edit > Paste or press Cmd + V. The version of the file or folder from the Snapshot is copied into the folder.
Snapshots are taken:
- every two hours between 6:00 am and 6:00 pm. And kept for 5 days
- daily at midnight and kept for 30 days